The speed of ultrasonic wave propagation in the air is 340m/s. Therefore, if the ultrasonic wave propagation time in the air can be measured, the propagation distance can be calculated. Ultrasonic liquid level measurement is to measure the distance of sound wave transmission by measuring the time gap of ultrasonic wave propagation. Specific methods: See Figure 1. An ultrasonic wave probe mounted on the top of the container under test emits a beam of ultrasonic waves to the liquid surface. After the sound waves are reflected by the liquid surface, they are received by the probe. The controller measures the propagation time t. According to the sound velocity v, the distance L from the liquid surface to the probe can be obtained. With the distance from the probe to the bottom of the container, ie the installation height H, it is possible to determine the height h of the liquid in the container. The formula is:
H=HL where L=v?t/2
In addition, because the air temperature has a certain influence on the speed of sound, the ambient air temperature T should also be measured to correct the speed of sound. The formula is:
v=331.46 0.61?T(°C)
2 main circuit of ultrasonic level gauge
Ultrasonic level gauge consists of ultrasonic probe, emission control and receiving processing circuit, controller and display. The hardware block diagram shown in Figure 2. Transceiver and transducer probe consists of piezoelectric transducer, transceiver and temperature compensation circuit; transceiver includes emission control and receiving processing circuit, mainly by pulse width control of ultrasonic emission, echo signal detection, comparison, differential, shaping The signal processing circuit is composed of; the display circuit is composed of 74LS164 and LED, and the display of system parameters and liquid level height is completed; the controller is an application system composed of 80C552 single-chip microcomputer, and the key scan processing, ultrasonic emission control, and reception are mainly completed. Echo time calculation, and liquid level conversion. This article focuses on the hardware and software measures taken to improve the measurement accuracy and reduce the detection of blind spots on the ultrasonic echo detection. The circuit is shown in Figure 3.
When the ultrasonic wave is transmitted, either the transmitted wave or the received echo can be input from the In terminal via the receiving loop, and a sharp pulse is formed at the R terminal of the D flip-flop by detecting, amplifying, comparing, and differentiating. The pulse signal is shaped by a D-flip-flop to obtain a narrow pulse with a lower transition, which is sent to the INT pin of the 80C552. Each interruption time is recorded by the 20C552 interrupt system. According to the interval between two consecutive interruptions, the time from the transmission to the reception of the echo, that is, the time for the ultrasonic wave to travel back and forth, can be known, so that the propagation distance can be calculated. .
3 Measures to Improve Measurement Accuracy and Reduce Measurement Blindness
This article focuses on the software and hardware measures taken to improve measurement accuracy and reduce blind spots in the use of ultrasonic testing.
When ultrasonic waves are emitted and there is a strong aftershock, it is not possible to detect echoes at the same time. Therefore, it can not be detected within a certain distance from the probe's emission surface, forming a detection blind zone. The common domestic and foreign ultrasonic instrument blind area is more than 0.30m. Through the specific analysis of the measurement accuracy and the formation of the blind zone, the size of the blind zone is mainly related to the strength of the transmitted wave and the method of echo detection. Under normal circumstances, when the distance is the same, the emission intensity is strong and the received echo signal is strong, but the aftershock is strong and the blind area is large. On the contrary, it is small. When the transmitted wave intensity is the same, the closer the detection distance is, the stronger the received echo signal is, and the larger the blind area is. Secondly, when the ultrasonic probe emits a beam of ultrasonic waves to the liquid surface, the wave is reflected multiple times between the liquid surface and the probe, so that multiple echoes are generated in the receive loop and a series of interrupt signals are formed in the 80C552. The launch pulse width has a great influence on the measurement accuracy. Therefore, the following measures are taken during the design of the instrument: (1) The intensity of the transmitted wave is automatically controlled to reduce the detection dead zone. The specific approach is to pass the test emission and distance detection so that the weak intensity of the transmitted wave varies with the detection distance. 2 In the software design, some special processing methods are implemented. The county records the echo times four times at a time when the echo is recorded. When the echo time is calculated, the last two time differences are used as the propagation time of the ultrasonic wave. . This treatment avoids the influence of the transmitted pulse width on the measurement, which makes the measurement more accurate, and also minimizes the blind area to 0.05m.
In addition, in order to prevent the effect of the interference wave and the overlapping of the transmitted wave width and multiple echoes on the measurement, this design adds a variable-level threshold in the circuit that receives the echo. This level is PWM pulse width modulation of 80C552. The terminal is provided with the output of the D/A converter formed by the necessary interface circuit. The level of the threshold level should be as close to the center of the echo waveform as possible in order to reduce the influence of the waveform width on the measurement time.
Through the above processing, for the required measurement range of 0.20m ~ 8m, the maximum measurement error is 0.006m, and the repeatability is good. Because the ultrasonic level gauge designed in this paper has a simple hardware structure, reliable operation and the above characteristics, therefore, it Not only can be used for liquid level measurement in the chemical, power, petroleum and other industries, it can also be used in other ranging systems.
Article link: http://
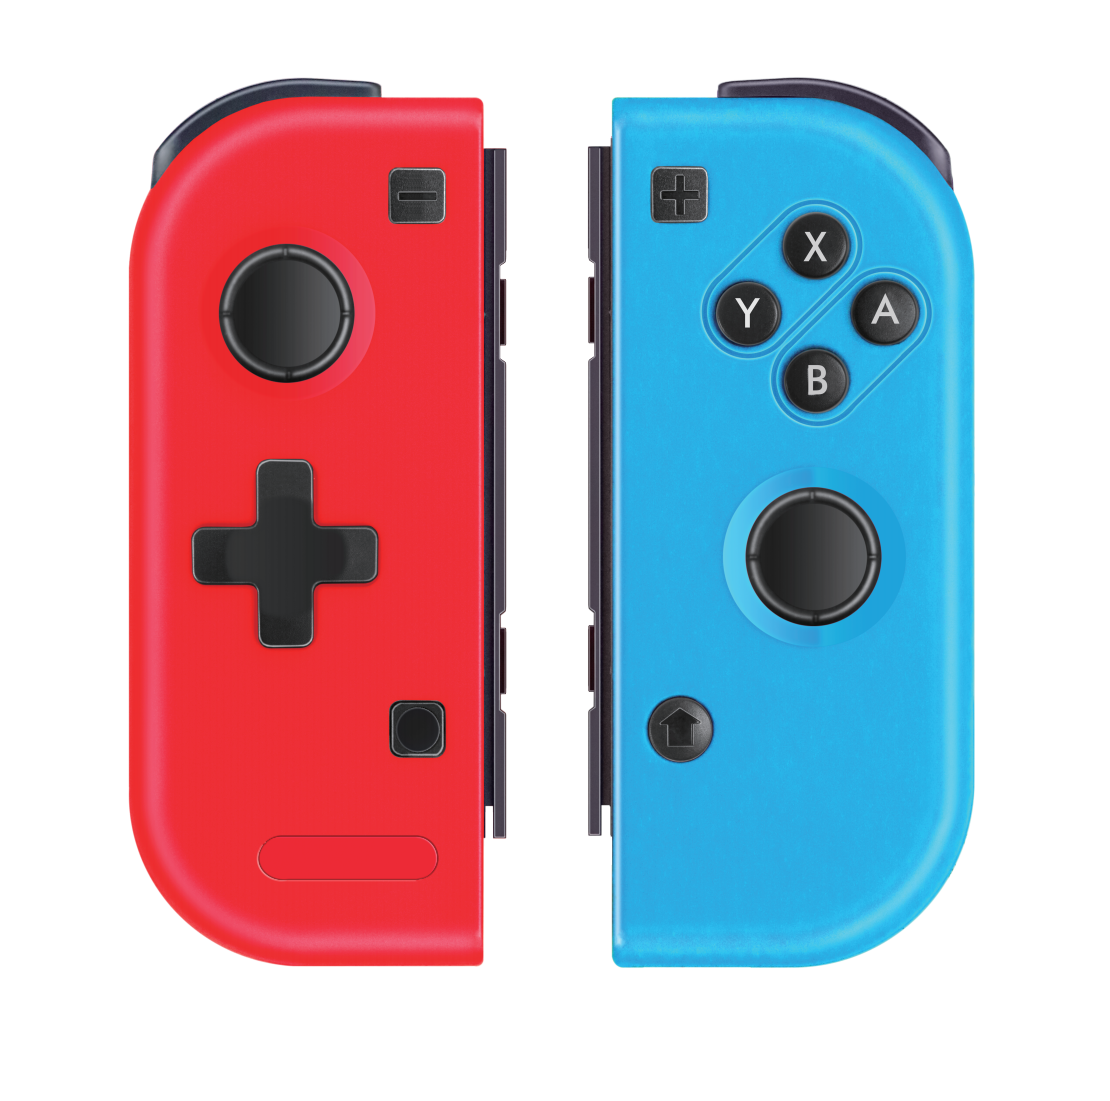
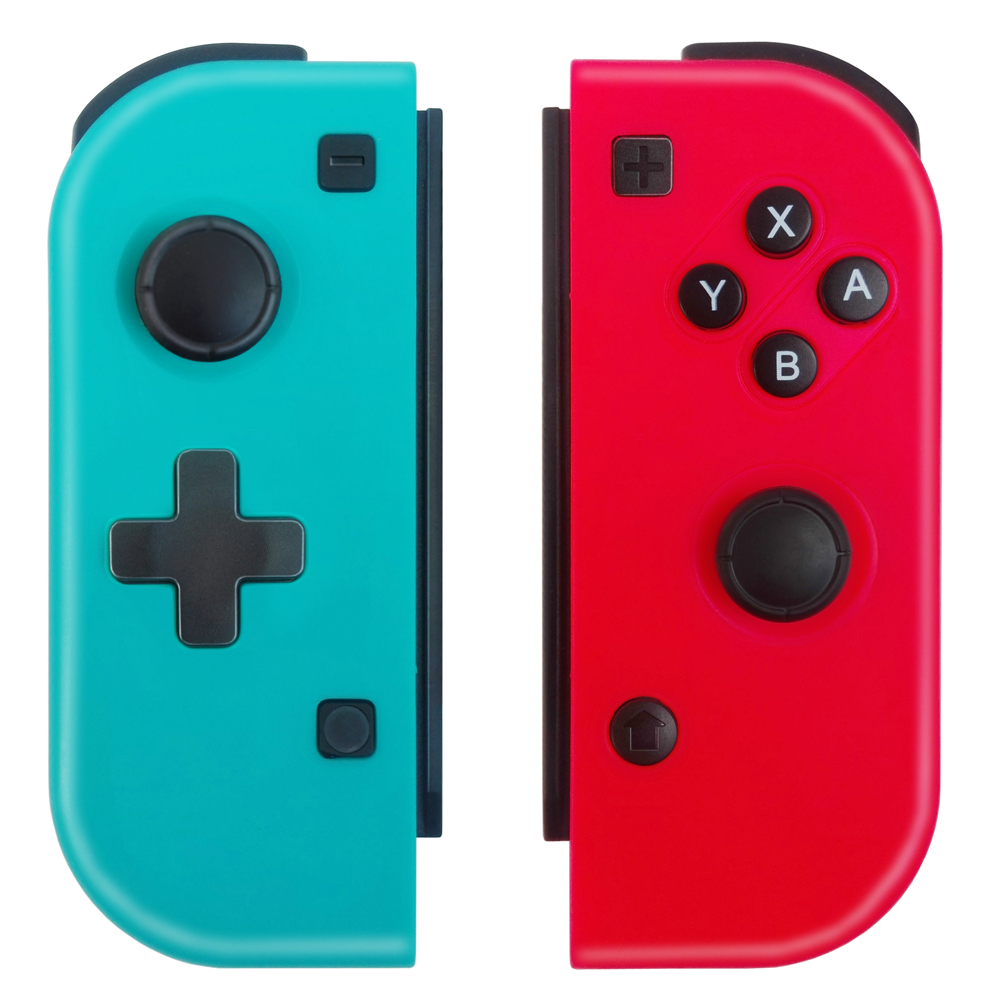
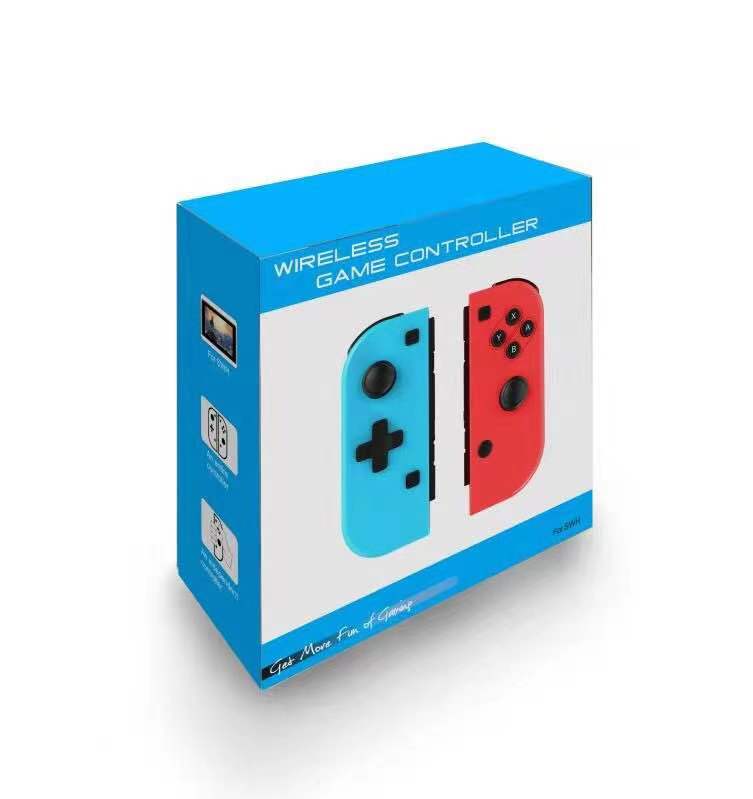
- The versatile joy-con offer multiple surprising ways for players to have fun
- Two joy-con can be used independently in each hand or together as one game controller when attached to the joy-con grip (sold separately)
- They can also attach to the main console for use in handheld mode or be shared with friends to enjoy two-player action in supported games
- Each joy-con has a full set of buttons and can act as a standalone controller and each includes an accelerometer and gyroscope motion sensor, making independent left and right motion control possible
-
100% testing one by one before shipping


Nintendo Switch Joy-Con,Nintendo Switch Console,Nintendo Switch Console Game,Nintendo Switch Joycons
Shenzhen GEME electronics Co,.Ltd , https://www.gemeelectparts.com
